Yummy New Posts

How to Make Vegan Protein Shake With Hemp Seeds

How to Make Vegan Protein Shake With Hemp Seeds

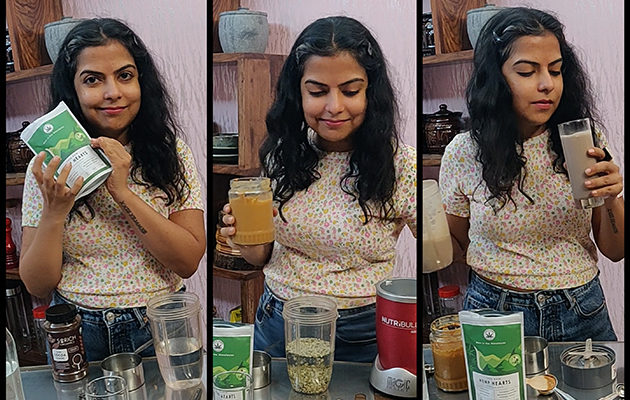
Whenever I mention to someone that I do not support supplements as I encourage consuming whole foods, the most common question I get asked is “Not even protein powder?” This is a common concern for most vegans and vegetarians, specially if they are trying to 

Gajar Ka Halwa • Carrot Halwa (Indian Dessert) • Winter Recipe • Oil Free • Vegan

Gajar Ka Halwa • Carrot Halwa (Indian Dessert) • Winter Recipe • Oil Free • Vegan

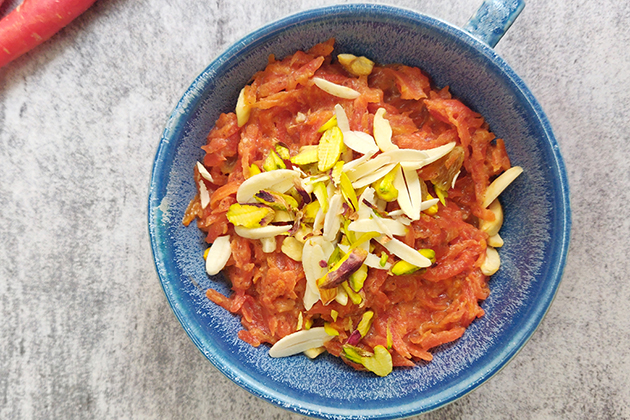
I have been vegan for over 4 years now and I no longer crave for the dishes that use to be my favorite but this winter season I was missing the homemade “Gajar ka halwa” (Indian dessert made with red winter carrots) so decided to make an oil free, vegan version. I had to get rid of sugar, so I used date puree as a sweetener. It turned out pretty good so I had to share the recipe.

In the recipe given below, I added the coconut milk and cashew cream after turning the stove off. Leaving these uncooked is a healthier option but then the halwa will only last 1-2 days in the refrigerator. If you wish to store a little longer, you can cook for few minutes – then it will last for about 3-4 days.

Gajar Ka Halwa (Carrot pudding)

Prep Time 25 mins
Cook Time 25 mins
Course Dessert

Ingredients
  

  • 500 gm red carrots, grated
  • 10 strands saffron/kesar
  • 1/4 cup green raisins
  • date puree to taste (recipe below) I used puree of 1/2 cup soaked dates
  • cardamom powder I powdered 6 cardamom, skin removed
  • 1/2 cup home made coconut milk or any other plant based milk (sharing recipe below)
  • 3-4 tbsp thick cashew cream I blended 1/3 cup soaked cashews with 1/3 cup water, used 3 tbsp of this
  • chopped nuts for garnishing almonds/pistachio/cashew etc

Instructions
 

  • Add the carrots and saffron in a heavy bottom pan on medium flame, cover and let it cook
  • check and stir as required until carrots are tender
  • now add the raisins and date puree, cook to evaporate any excess water
  • now turn off the stove
  • add coconut milk, cashew cream and cardamom powder
  • stir and cover for few minutes to allow all flavors to blend in
  • Halwa is ready, serve in the dish and garnish with chopped nuts
Keyword coconut milk, dessert, healthy, sugar free


home made coconut milk recipe

Coconut Milk Recipe using a Blender

Prep Time 20 mins
Sieving 5 mins
Total Time 25 mins
Course Side Dish

Equipment

  • Blender
  • Cheese cloth/muslin cloth/nut milk bag

Ingredients
  

  • 1/2 Mature Coconut brown coconut, wet NOT the dry one. This will be approx. 1 cup coconut when loosely packed in pieces size of about 1 cm x 1 cm
  • 2.5 cup Water you can use 3-4 cups water, based on how thick or thin you like it. Luke warm water will give better result.

Instructions
 

  • Remove the outer husk/shell of the coconut. No need to peel the inner brown skin
  • Roughly chop into cubes of approximately 1cm x 1cm. You can also grate it.
  • Add these to the blender with 1 cup of water and blend to form a smooth paste.
  • Add another 1/2 cup of water and blend again.
  • Strain this through a nut milk bag/muslin cloth. This is your first batch of coconut milk.
  • Now you will have the remaining coconut pulp in the nut milk bag.
  • Put this pulp back in the blender and blend again with half cup water and repeat step 5. This will be batch 2

Notes

  1. Sometimes I use the pulp from batch 1 in other recipes, in this case, I do not make milk from batch 2 as it helps to have some milk left in the pulp.
  2. If you do not want to use the pulp elsewhere, it is a good idea to make milk 2nd time. However, this milk will be a lot thinner.
  3. I prefer to keep batch 1 for recipes that require thick milk and keep batch 2 for recipes that require thinner consistency.
  4. This will make approximately 1.5 cups of thick coconut milk in batch one and about 1 cup thin coconut milk in batch 2.
Keyword coconut milk, milk shake, vegan smoothie

sugar alternative, date puree, whole foods plant based

Date Puree

Prep Time 10 mins
Soak Time 4 hrs

Equipment

  • Blender

Ingredients
  

  • 20 dates
  • water as required

Instructions
 

  • Soak the dates in just enough water to almost cover them. Water level should not cover the top of dates. Soak in a way that the top layer of dates is half submerged in water. Soaking time will be less in hot weather and more in winters and will also depend on how fresh and soft the dates are. It can range between 4-8 hours. You can check after 3-4 hours if the dates have become soft and the seeds are sliding off very easily without applying any pressure.
  • Now remove all seeds. Be careful, you don't want to accidentally put any seeds in your blender and ruin the blades.
  • Add all dates in the blender along with the soaking water.
  • Blend until nice and smooth.
  • Dates puree is ready. You can use it immediately or keep it in the refrigerator for 3-5 days. If you wish to keep it longer, then freeze it in any airtight container.
Keyword sugar alternative
No Blender Raw Vegan Soup

No Blender Raw Vegan Soup

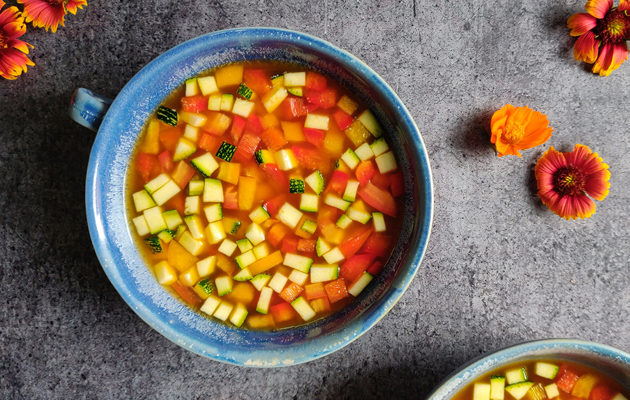
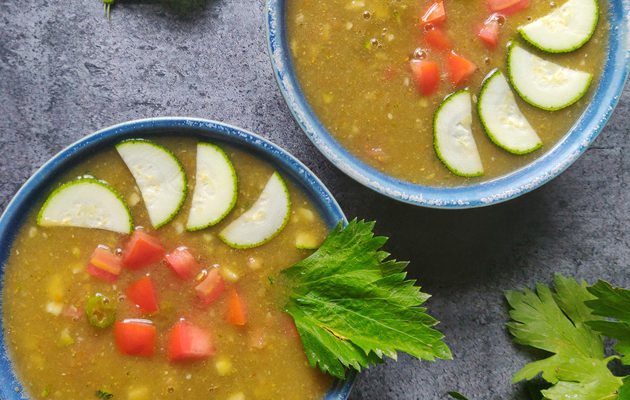
While curating recipe for this series of RAW VEGAN SOUPS, I wanted to have an option that is easy, instant and does not need a blender. This soup is super healthy, vibrant and very easy to make. No blending required, just mix all ingredients as 

Raw Pumpkin Soup Recipe | Vegan | Gluten Free

Raw Pumpkin Soup Recipe | Vegan | Gluten Free

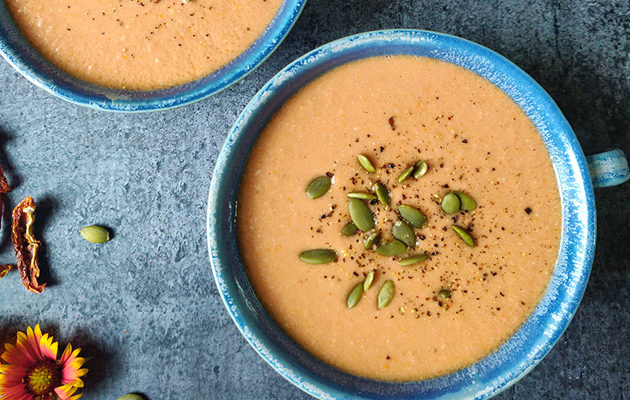
This pumpkin soup is not made with pumpkin but uses pumpkin seeds. Watch this video to learn my take on pumpkin soup. Its raw, vegan and gluten free. Very quick and easy to make.

Thai Noodle Soup, Raw Vegan Soup Recipe | Gluten Free

Thai Noodle Soup, Raw Vegan Soup Recipe | Gluten Free

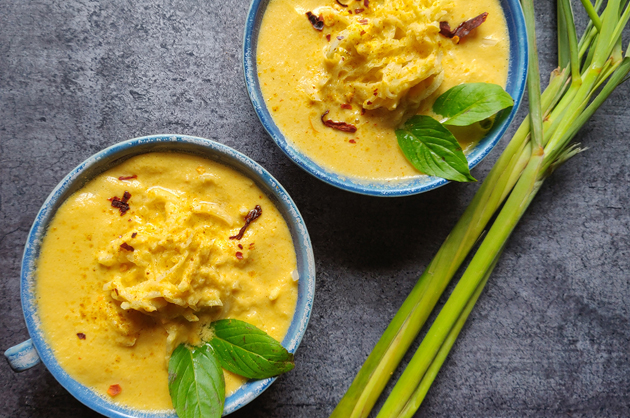
Looking for vegan soup recipes? This raw vegan soup is inspired by the raw papaya salad and Thai red curry. Its delicious and super healthy. Try and tell me what you think.

Thai Noodle Soup, Raw Vegan Gluten Free Soup Recipe

Raw Vegan Thai Noodle Soup

Prep Time 20 mins
Marinate 2 hrs
Course Appetizer, Side Dish, Soup
Cuisine thai

Equipment

  • Blender

Ingredients
  

For Soup

  • 3 medium red onions
  • 1/2 cup carrot
  • 1 soaked dry red chilli soaked for 1-2 hours
  • Lemon juice to taste
  • 1 lemon grass (bottom white part)
  • ¼” ginger
  • 25-30 fresh coriander stems just the 2-3” stems above roots, not the leaves
  • 2 garlic cloves
  • Salt to taste
  • Curry powder to taste start with ½ tsp
  • 1.5 cup coconut milk, recipe below
  • 250 gm raw papaya noodles/grated/thin long slices

Garnish

  • Basil leaves
  • Chilli flakes

Instructions
 

  • Add all ingredients except coconut milk and raw papaya noodles - in the blender with ½ cup coconut milk and blend to form a smooth paste
  • Now add the remaining coconut milk and mix well.
  • In a bowl, add the raw papaya noodles and pour the soup on top.
  • Once ready, refrigerate for 2 hours for all flavours to seep in. This will also reduce the “raw taste” of certain vegetables.
  • Warm: you can enjoy this soup warm in cold weather. For this, before adding the soup on top of the noodles, warm it up slightly.
Keyword raw vegan, raw vegan soup

I prefer to use fresh, home made coconut milk in this recipe.

Read my blog to learn all about coconut milk.

Below are the recipes to make it at home using a blender or a cold pressed juicer.

home made coconut milk recipe

Coconut Milk Recipe using a Blender

Prep Time 20 mins
Sieving 5 mins
Total Time 25 mins
Course Side Dish

Equipment

  • Blender
  • Cheese cloth/muslin cloth/nut milk bag

Ingredients
  

  • 1/2 Mature Coconut brown coconut, wet NOT the dry one. This will be approx. 1 cup coconut when loosely packed in pieces size of about 1 cm x 1 cm
  • 2.5 cup Water you can use 3-4 cups water, based on how thick or thin you like it. Luke warm water will give better result.

Instructions
 

  • Remove the outer husk/shell of the coconut. No need to peel the inner brown skin
  • Roughly chop into cubes of approximately 1cm x 1cm. You can also grate it.
  • Add these to the blender with 1 cup of water and blend to form a smooth paste.
  • Add another 1/2 cup of water and blend again.
  • Strain this through a nut milk bag/muslin cloth. This is your first batch of coconut milk.
  • Now you will have the remaining coconut pulp in the nut milk bag.
  • Put this pulp back in the blender and blend again with half cup water and repeat step 5. This will be batch 2

Notes

  1. Sometimes I use the pulp from batch 1 in other recipes, in this case, I do not make milk from batch 2 as it helps to have some milk left in the pulp.
  2. If you do not want to use the pulp elsewhere, it is a good idea to make milk 2nd time. However, this milk will be a lot thinner.
  3. I prefer to keep batch 1 for recipes that require thick milk and keep batch 2 for recipes that require thinner consistency.
  4. This will make approximately 1.5 cups of thick coconut milk in batch one and about 1 cup thin coconut milk in batch 2.
Keyword coconut milk, milk shake, vegan smoothie

You can also watch a comparison video of the two methods to make coconut milk at home:

home made coconut milk recipe in cold press juicer

Coconut Milk Recipe using a Cold Press Juicer

Prep Time 20 mins
Course Appetizer, Dessert, Snack
Servings 2 people

Equipment

  • Cold press juicer/slow juicer

Ingredients
  

  • 1/2 mature Coconut brown coconut, wet NOT the dry one.
  • 2 cup water

Instructions
 

  • Remove the outer husk/shell of the coconut. No need to peel the inner brown skin
  • Cut it into thin long slices so the pieces do not get stuck in the juicer (as shown in the video above).
  • Add the coconut slices to a bowl with 2 cups water.
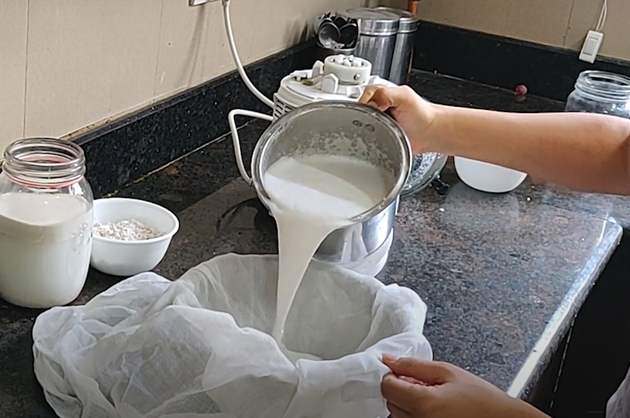
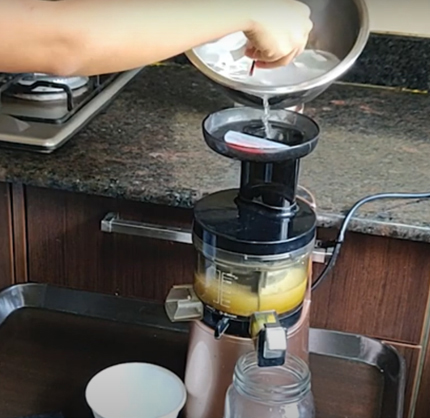
  • Now start adding this to the juicer. Make sure to add the coconut slices and water simultaneously to the juicer (as shown in the video above).
  • Coconut milk is ready, no need to sieve it.

Notes

When making milk in the blender, you can not add the pulp back in the juicer for second batch of the milk.
Feel free to use the pulp as a scrub or in other recipes.
Keyword coconut milk, healthy drinks, smoothie
Raw Vegan Miso Soup Recipe | Vegan Source of Calcium

Raw Vegan Miso Soup Recipe | Vegan Source of Calcium

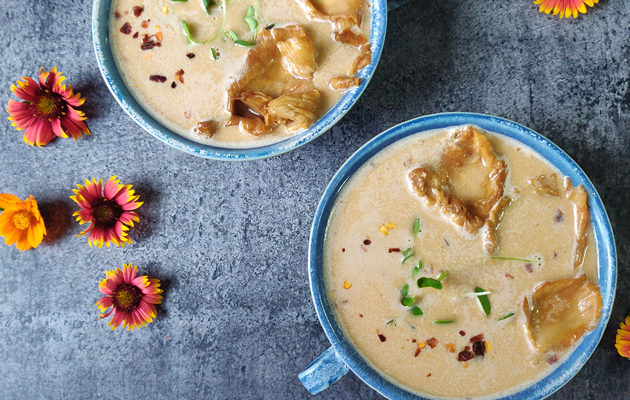
Try this delicious raw vegan miso soup. It works really well as a warm soup too, making it a great option in winters as well. Generous amount of sesame seeds used in this recipe makes it a great source of calcium.  

How to make date puree at home | healthy alternative to sugar

How to make date puree at home | healthy alternative to sugar

Here is a simple and easy recipe of raw date puree. This stays fresh for 4-5 days in the fridge and can be frozen for longer shelf life. I usually take 1 whole box of dates, make puree and freeze it. The good thing about this puree is it will stay soft in the freezer and not harden. So you can just scoop it out as and when required without having to defrost/thaw. It will stay well for 3-4 weeks in the freezer. Just make sure you do not add too much water, else it will become hard.

Date puree comes very handy while making any desserts or smoothies.

Date Puree

Prep Time 10 mins
Soak Time 4 hrs

Equipment

  • Blender

Ingredients
  

  • 20 dates
  • water as required

Instructions
 

  • Soak the dates in just enough water to almost cover them. Water level should not cover the top of dates. Soak in a way that the top layer of dates is half submerged in water. Soaking time will be less in hot weather and more in winters and will also depend on how fresh and soft the dates are. It can range between 4-8 hours. You can check after 3-4 hours if the dates have become soft and the seeds are sliding off very easily without applying any pressure.
  • Now remove all seeds. Be careful, you don't want to accidentally put any seeds in your blender and ruin the blades.
  • Add all dates in the blender along with the soaking water.
  • Blend until nice and smooth.
  • Dates puree is ready. You can use it immediately or keep it in the refrigerator for 3-5 days. If you wish to keep it longer, then freeze it in any airtight container.
Keyword sugar alternative

For a video of this recipe: