A whole foods plant based diet is not only healthier, but also better for the environment. Since this diet does not include any dairy products and oils, we need find their alternatives. The best option is making home made “nut butters” or “seed butters”.
The process is pretty simple, roast the nuts or seeds and grind them (dry, without adding any water or oil) in a high speed blender till it turns into a butter. It will take some time and you will need to open the blender jar a few times to scrape down the edges. But don’t worry, the effort is worth it. After all this, you will have a seed/nut butter (ex: peanut butter, almond butter, cashew butter etc) that will last you for months in the refrigerator or weeks outside.
As I always mention, all nuts/seeds/legumes have anti-nutrients that hamper our digestive process. To get rid of them, we can soak or soak+sprout these. Therefore, there is 5 different methods to make butters from nuts or seeds. #1 being least time consuming and also less healthy as compared to others, where #5 is the most time consuming and healthiest. But remember, #1 is still a healthier alternative to oils or store bought butter.
- roasting and grinding (not so healthy, but quick)
- soaking, shade drying, roasting and grinding
- soaking, shade drying, sun-drying, roasting and grinding
- soaking, sprouting, shade drying, roasting and grinding
- soaking, sprouting, shade drying, sun-drying, roasting and grinding
I usually follow #4 to make nut or seed butters. Process is the same for all nuts and seeds but their soaking and sprouting time differs.
Below I am sharing the recipe for sprouted peanut butter. In case you don’t have enough time, you can follow the recipe from step 5 and skip soaking and sprouting.
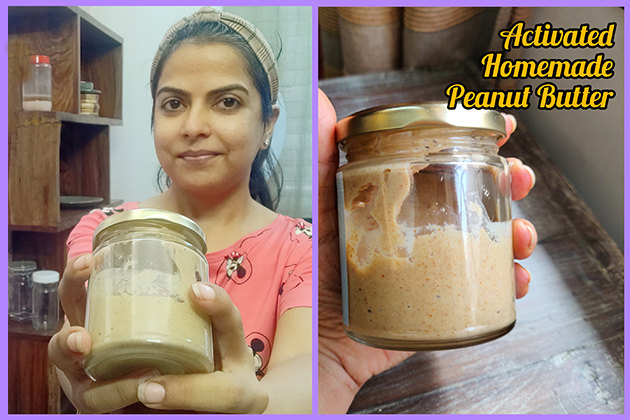
Sprouted Peanut Butter
Prep Time 1 d 22 hrs
Cook Time 15 mins
- 1 cup peanuts
- water as required for soaking and sprouting
Take the peanuts, wash and soak them for 6 hours
Rinse well, wrap in a damp cloth and keep in a colander for 16 hours for sprouting. Do not need to sprout too much, as soon as you see a tiny sprout starts to grow, this is ready to use else they turn a bit bitter. Exact time will depend on the peanuts used and weather conditions. You can check every 2-3 hours.
Once they have sprouted, wash them thoroughly as they will have a slimy texture.
Shade dry them on a clean cloth for 24-48 hours, can keep under a fan for faster results
Once completely dry, roast them on a pan or in the oven until golden brown. I prefer doing this on low heat. Lower the heat, less nutrients are destroyed. Oven will give a more even result. If using an oven, you can set the temperature at 150 for about 15-20 minutes.
Allow these to cool down.
Now place the peanuts in a colander and give them a good rub to get rid of the skin (if you are using peanuts with skin). You only need to remove what comes off easily. I personally like the taste better if skin is removed and the color is lighter.
Transfer to a high speed blender and blend. At first, they will turn into a powder.
Keep blending, you may need to keep scraping the edges. It will start to turn creamier and eventually into butter.
Remove from the blender and transfer to a clean airtight glass jar. It's better to wash the jar with hot water and make sure it is completely dry, to ensure longer shelf life of the peanut butter.
I like to keep this outside the refrigerator as it stays soft. Outside the fridge, it will last a minimum of 2-3 months (longer in cold weather). In the refrigerator, will last at least 1 year. Keyword butter, peanut butter, vegan butter